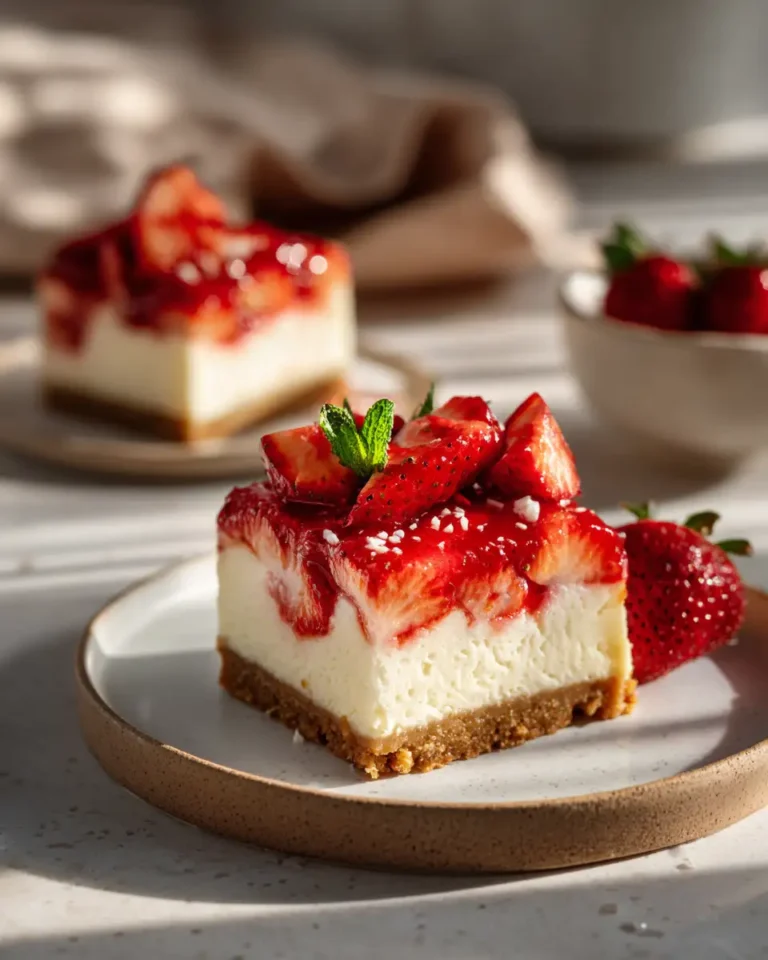
Irresistible No Bake Kiwi Cheesecake Bars: A Sweet Slice of Paradise
Hey there, friends! Today, I’m inviting you into my cozy little kitchen as we delve into a delightful treat that’s perfect for those days when you need a sweet escape without turning on the oven—No Bake Kiwi Cheesecake Bars. Growing up, my culinary adventures often began on a wobbly chair beside my dad, where I’d watch him whip up heartwarming dishes with stories as rich as the flavors he created. This recipe is a nod to those simple, love-filled meals, made with ingredients you can find in any pantry and a few fresh kiwis to add a zing of excitement. So, let’s get messy in the kitchen, just like old times!
Why You’ll Love This No Bake Kiwi Cheesecake Bars
These No Bake Kiwi Cheesecake Bars are the perfect blend of simplicity and sophistication. Whether you’re a busy mom like me juggling kids and work or just someone who appreciates a good homemade dessert, this recipe is a real winner. The creamy cheesecake layer is complemented by the tangy, juicy kiwi topping, making each bite a refreshing treat. And the best part? You won’t need to turn on the oven, which is a blessing during those hot summer days or when your schedule is packed.
Ingredients You’ll Need for This No Bake Kiwi Cheesecake Bars
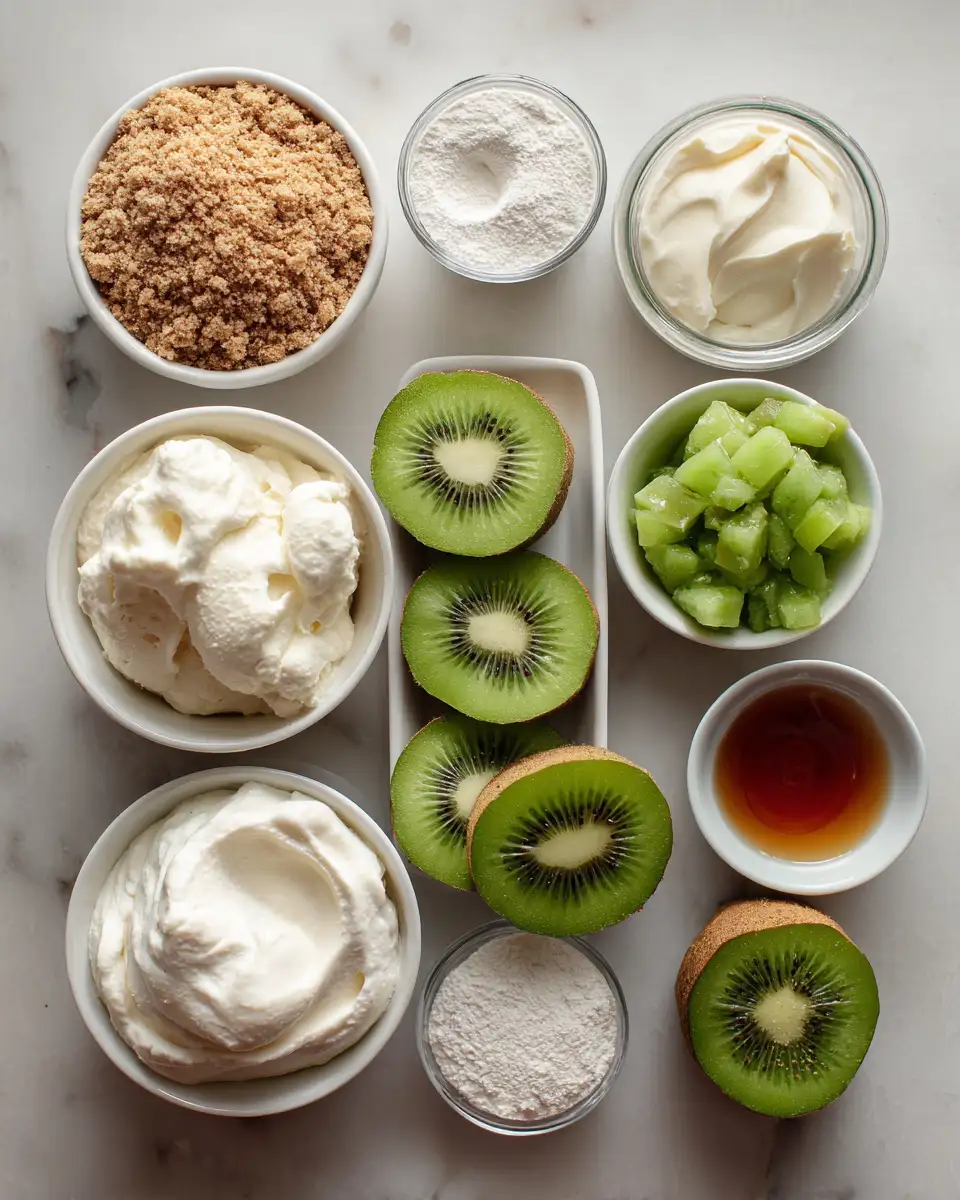
- 1 1/2 cups graham cracker crumbs
- 1/2 cup unsalted butter, melted
- 1/4 cup granulated sugar
- 1 1/2 cups cream cheese, softened
- 1 cup powdered sugar
- 1 teaspoon vanilla extract
- 1 cup heavy cream, whipped
- 4-5 fresh kiwis, peeled and sliced
- 2 tablespoons honey or agave syrup (optional, for extra sweetness)
Feel free to substitute the graham cracker crumbs with digestive biscuits or even ginger snaps for an extra kick, and if you’re out of powdered sugar, a quick blitz of granulated sugar in a blender works wonders!
Nutrition Facts
- Calories: 320 per serving
- Protein: 5g
- Fat: 22g
- Carbohydrates: 30g
- Fiber: 2g
- Sugar: 15g
- Sodium: 180mg
These bars are a sweet indulgence, so enjoy them in moderation and savor each bite!
Print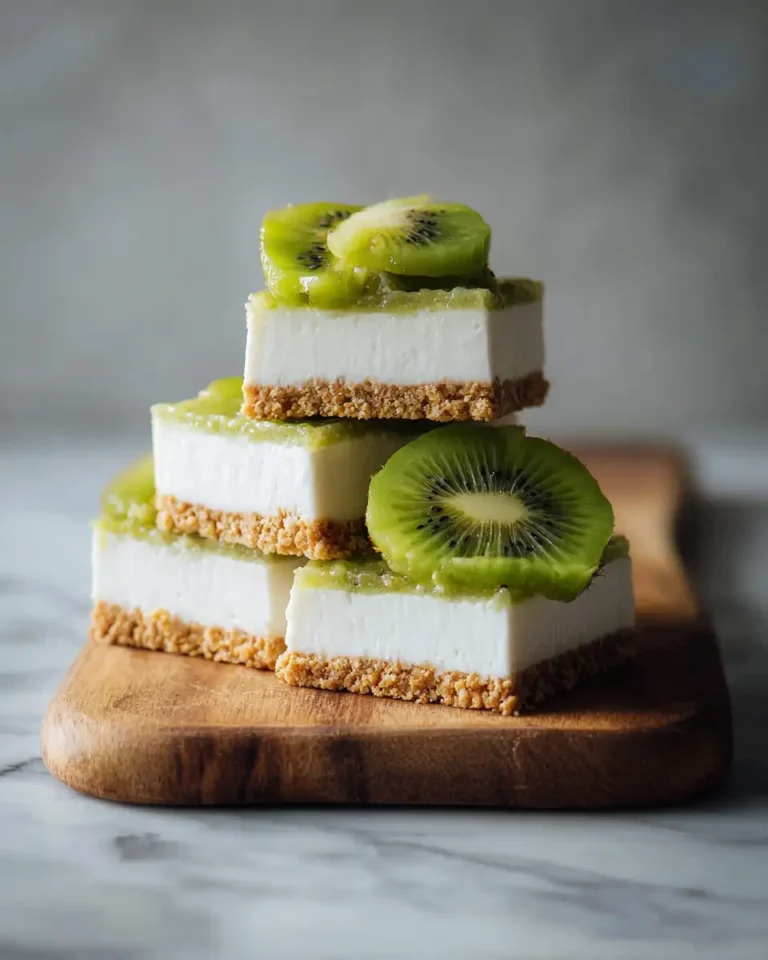
Irresistible No Bake Kiwi Cheesecake Bars: A Sweet Slice of Paradise
Learn how to make delicious No Bake Kiwi Cheesecake Bars. Easy recipe with step-by-step instructions.
- Total Time: 45 minutes
- Yield: 4 servings 1x
Ingredients
- 1 1/2 cups graham cracker crumbs
- 1/2 cup unsalted butter, melted
- 1/4 cup granulated sugar
- 1 1/2 cups cream cheese, softened
- 1 cup powdered sugar
- 1 teaspoon vanilla extract
- 1 cup heavy cream, whipped
- 4–5 fresh kiwis, peeled and sliced
- 2 tablespoons honey or agave syrup (optional, for extra sweetness)
Feel free to substitute the graham cracker crumbs with digestive biscuits or even ginger snaps for an extra kick, and if you’re out of powdered sugar, a quick blitz of granulated sugar in a blender works wonders!
Instructions
- Start by preparing the crust. In a large bowl, combine the graham cracker crumbs, melted butter, and granulated sugar. Mix until the crumbs are well-coated.
- Press the mixture firmly into the bottom of an 8×8 inch baking dish lined with parchment paper. Place in the refrigerator to set while you prepare the filling.
- In another bowl, beat the cream cheese until smooth and creamy. Gradually add the powdered sugar and vanilla extract, continuing to beat until well combined.
- Gently fold the whipped cream into the cream cheese mixture, ensuring a light and airy texture.
- Spread the cheesecake filling evenly over the chilled crust. Smooth out the top with a spatula.
- Arrange the kiwi slices over the cheesecake layer, creating a beautiful pattern. Drizzle with honey or agave syrup if you desire a touch more sweetness.
- Refrigerate the assembled cheesecake bars for at least 4 hours, or overnight for best results.
- Once set, slice into bars and serve chilled. Enjoy the burst of flavors with your favorite people!
Remember, the key to a perfect no-bake dessert is patience—let it chill completely to ensure clean, firm slices.
- Prep Time: 15 minutes
- Cook Time: 30 minutes
- Category: Main Dish
- Method: Cooking
- Cuisine: International
Keywords: No Bake Kiwi Cheesecake Bars, recipe, cooking, food
Steps to Create Your No Bake Kiwi Cheesecake Bars
- Start by preparing the crust. In a large bowl, combine the graham cracker crumbs, melted butter, and granulated sugar. Mix until the crumbs are well-coated.
- Press the mixture firmly into the bottom of an 8×8 inch baking dish lined with parchment paper. Place in the refrigerator to set while you prepare the filling.
- In another bowl, beat the cream cheese until smooth and creamy. Gradually add the powdered sugar and vanilla extract, continuing to beat until well combined.
- Gently fold the whipped cream into the cream cheese mixture, ensuring a light and airy texture.
- Spread the cheesecake filling evenly over the chilled crust. Smooth out the top with a spatula.
- Arrange the kiwi slices over the cheesecake layer, creating a beautiful pattern. Drizzle with honey or agave syrup if you desire a touch more sweetness.
- Refrigerate the assembled cheesecake bars for at least 4 hours, or overnight for best results.
- Once set, slice into bars and serve chilled. Enjoy the burst of flavors with your favorite people!
Remember, the key to a perfect no-bake dessert is patience—let it chill completely to ensure clean, firm slices. Learn more: Irresistibly Easy No Bake Peanut Butter Bars for a Sweet Treat
Tips for Making the Best No Bake Kiwi Cheesecake Bars
Here’s a little secret from my kitchen to yours: always use room temperature cream cheese for a smooth, lump-free filling. If you’re in a rush, a quick zap in the microwave (about 10 seconds) can do the trick. Also, when folding in the whipped cream, take your time to maintain the airy texture—this is what gives your cheesecake that light, melt-in-your-mouth feel.
Serving Suggestions and Pairings
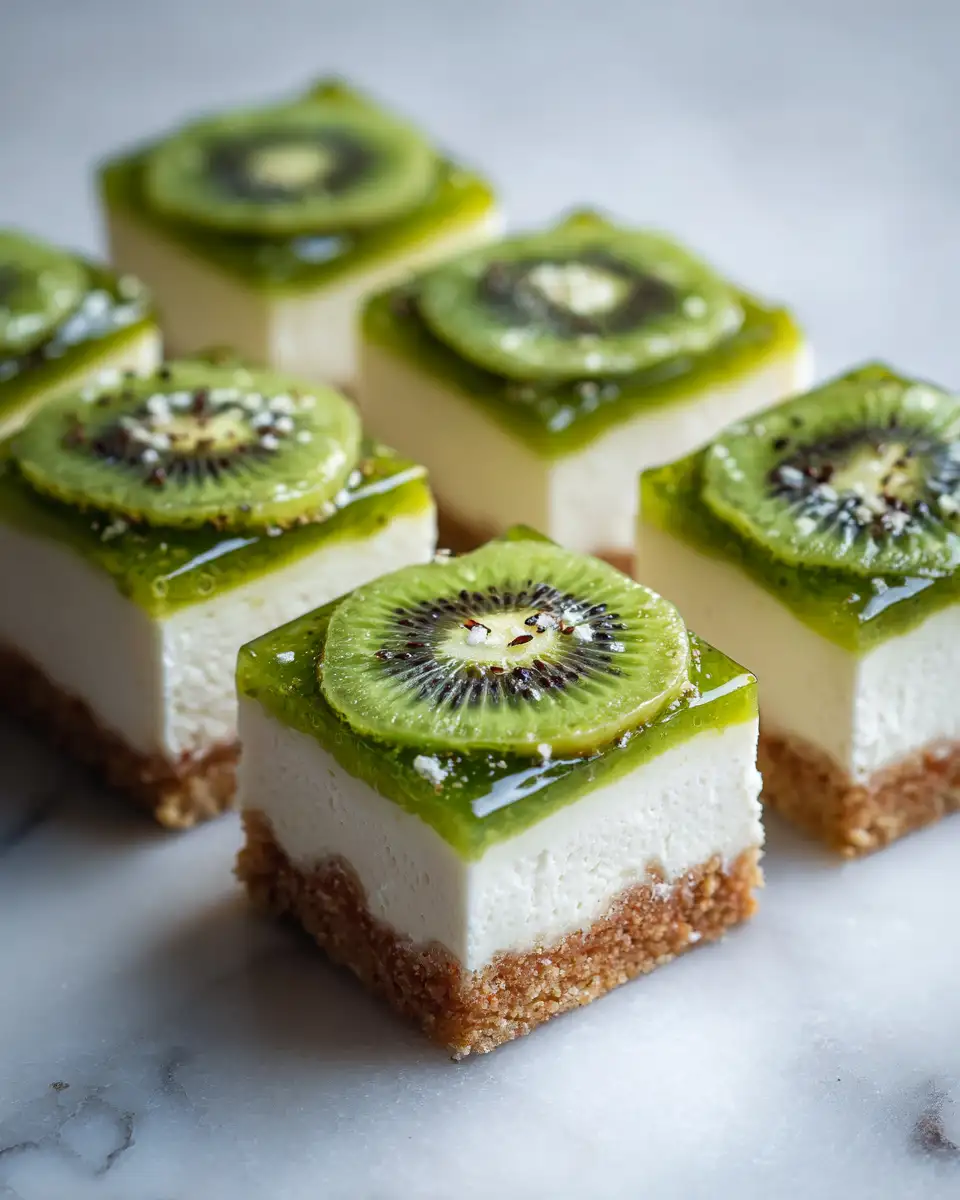
These cheesecake bars are delightful on their own, but if you’re feeling a bit adventurous, pair them with a chilled glass of sparkling water with a squeeze of lime for an extra refreshing touch. Alternatively, a scoop of vanilla ice cream on the side can turn this simple dessert into a decadent treat. For a colorful presentation, add a few mint leaves on top just before serving.
Storage and Reheating Tips
Store any leftover cheesecake bars in an airtight container in the refrigerator for up to 5 days. If you’re planning to make these ahead of time, they freeze beautifully too. Just wrap them individually in plastic wrap and place them in a freezer-safe container. To enjoy, simply thaw in the fridge overnight. Avoid reheating as these are best enjoyed chilled.
Frequently Asked Questions
What are the main ingredients for No Bake Kiwi Cheesecake Bars?
The main ingredients for No Bake Kiwi Cheesecake Bars include the items listed in our ingredients section above. Each ingredient plays a crucial role in achieving the perfect flavor and texture.
How long does it take to make No Bake Kiwi Cheesecake Bars?
The total time to make No Bake Kiwi Cheesecake Bars includes both preparation and cooking time. Check the recipe card above for exact timing details.
Can I make No Bake Kiwi Cheesecake Bars ahead of time?
Yes, No Bake Kiwi Cheesecake Bars can often be prepared in advance. Store it properly in an airtight container in the refrigerator and consume within the recommended timeframe.
What can I serve with No Bake Kiwi Cheesecake Bars?
No Bake Kiwi Cheesecake Bars pairs well with various sides and accompaniments. Consider the serving suggestions mentioned in the recipe for the best dining experience.
Is No Bake Kiwi Cheesecake Bars suitable for special diets?
Depending on the ingredients used, No Bake Kiwi Cheesecake Bars may be adapted for various dietary needs. Check the ingredients list and consider substitutions as needed for your dietary requirements.
Final Thoughts
There’s something wonderfully nostalgic about creating a homemade dessert like these No Bake Kiwi Cheesecake Bars. They remind me of those days spent in my family’s lively kitchen, where love was the main ingredient in every dish. Whether you’re serving these at a family gathering or simply indulging in a quiet moment to yourself, I hope this recipe brings you as much joy and comfort as it does to my family and me. Remember, cooking is all about the love you put into it, and I can’t wait for you to share these sweet moments with your loved ones!