Zesty Delight: Indulge in a No-Bake Key Lime Cheesecake Adventure
Hey there! Welcome back to my cozy corner of the internet. Today we’re diving into a dessert that’s as delightful to make as it is to eat: the No-Bake Key Lime Cheesecake. This recipe holds a special place in my heart and my kitchen, where the chaos of daily life meets the joy of creating something sweet without the fuss of an oven. Picture this: a sunny afternoon in my bustling kitchen, my kids attempting to “help” by taste-testing the ingredients, while I channel my mom’s magic of turning simplicity into something extraordinary. Now, let’s get into why this No-Bake Key Lime Cheesecake is set to become your new favorite.
Why You’ll Love This No-Bake Key Lime Cheesecake
This No-Bake Key Lime Cheesecake is a lifesaver during those hectic days when you crave a sweet treat but don’t have the time or energy for anything too complex. Like those late-night dinners from my childhood, it’s about the joy and love you put into it, not the perfection. It’s creamy, tangy, and has just the right amount of sweetness to make you forget the day’s chaos. Plus, it’s a hit with both adults and kids, making it perfect for family gatherings or a weekday surprise.
Ingredients You’ll Need for This No-Bake Key Lime Cheesecake
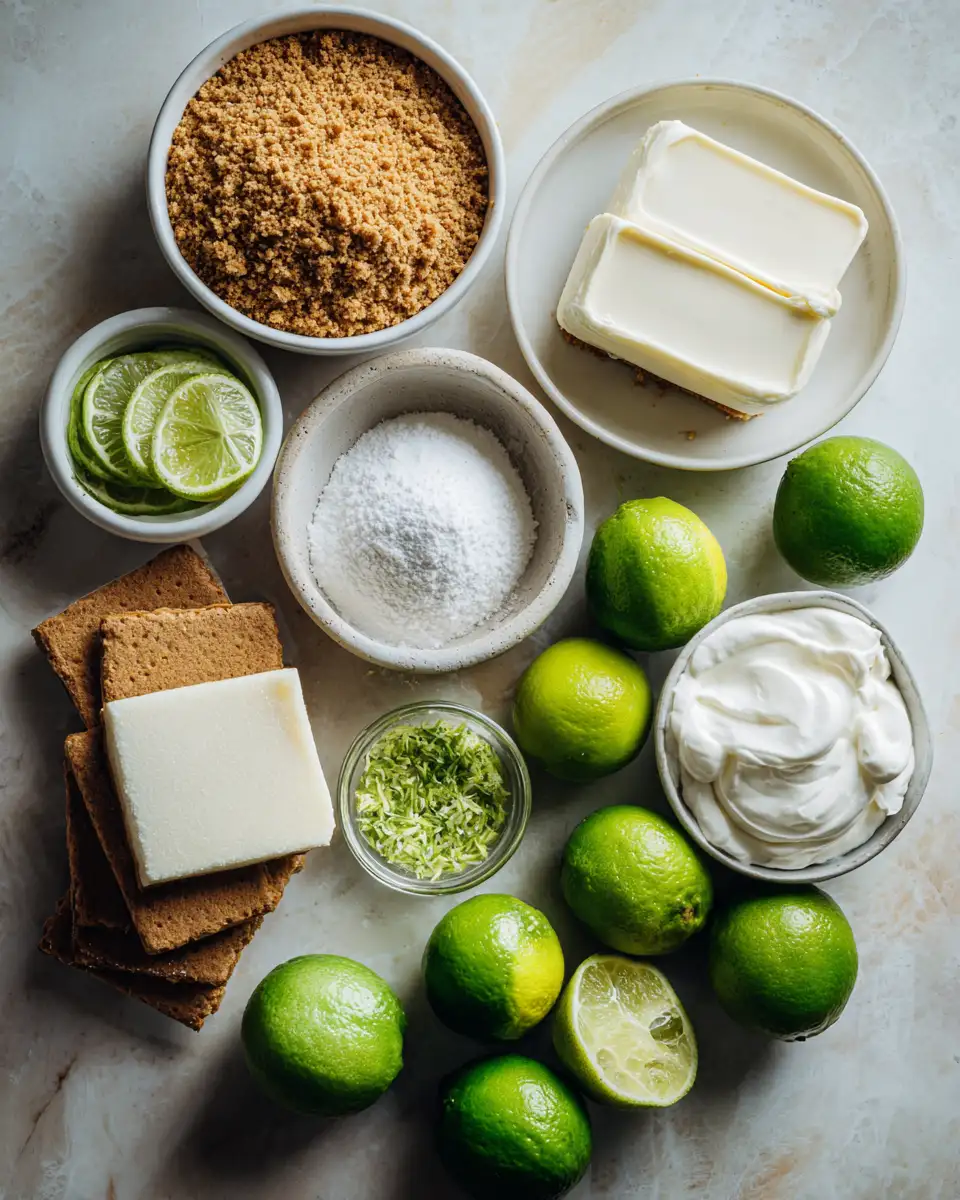
Here’s a list of what you’ll need to whip up this delightful dessert. And remember, substitutions are welcome—just like how my mom would improvise with whatever was in the pantry.
- 1 1/2 cups graham cracker crumbs
- 1/3 cup granulated sugar
- 1/2 cup unsalted butter, melted
- 16 oz cream cheese, softened
- 1 can (14 oz) sweetened condensed milk
- 1/2 cup fresh key lime juice (about 12-15 key limes)
- 1 teaspoon vanilla extract
- 1 cup heavy whipping cream
- 1 tablespoon powdered sugar
- Optional: lime zest for garnish
Nutrition Facts
It’s always good to know what’s in your food, right? Here’s a breakdown of the nutritional information per serving of this indulgent cheesecake.
- Calories: 420 per serving
- Protein: 6g
- Fat: 30g
- Carbohydrates: 34g
- Fiber: 1g
- Sugar: 25g
- Sodium: 230mg
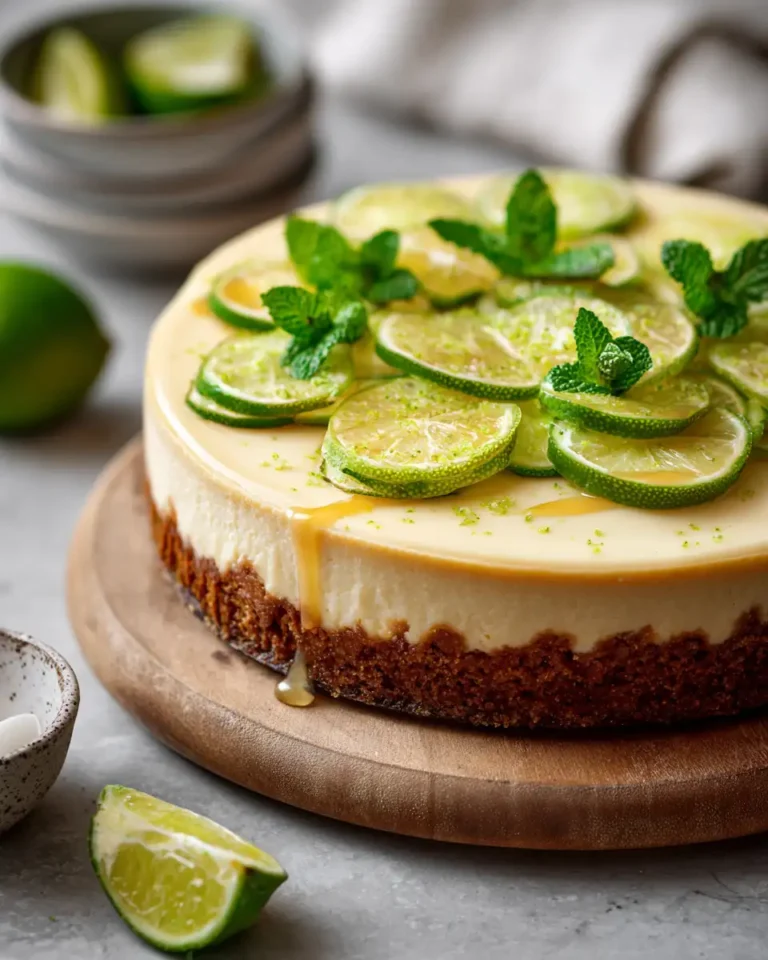
Zesty Delight: Indulge in a No-Bake Key Lime Cheesecake Adventure
Learn how to make delicious No-Bake Key Lime Cheesecake. Easy recipe with step-by-step instructions.
- Total Time: 45 minutes
- Yield: 4 servings 1x
Ingredients
Here’s a list of what you’ll need to whip up this delightful dessert. And remember, substitutions are welcome—just like how my mom would improvise with whatever was in the pantry.
- 1 1/2 cups graham cracker crumbs
- 1/3 cup granulated sugar
- 1/2 cup unsalted butter, melted
- 16 oz cream cheese, softened
- 1 can (14 oz) sweetened condensed milk
- 1/2 cup fresh key lime juice (about 12–15 key limes)
- 1 teaspoon vanilla extract
- 1 cup heavy whipping cream
- 1 tablespoon powdered sugar
- Optional: lime zest for garnish
Instructions
Let’s get started on making this cheesecake, step-by-step, just like those cherished moments cooking with my dad, where every step was a story shared and a memory made.
- Start with the crust. In a medium bowl, combine the graham cracker crumbs, granulated sugar, and melted butter. Stir until the mixture resembles wet sand.
- Press the crumb mixture firmly into the bottom of a 9-inch springform pan. Use the bottom of a glass or measuring cup to pack it tightly. Chill in the refrigerator while you prepare the filling.
- In a large mixing bowl, beat the softened cream cheese until smooth and creamy—about 2-3 minutes.
- Add the sweetened condensed milk, key lime juice, and vanilla extract to the cream cheese. Mix until well combined and silky.
- In a separate bowl, whip the heavy cream and powdered sugar until soft peaks form. Gently fold the whipped cream into the cheesecake mixture, maintaining as much air as possible.
- Pour the filling over the chilled crust, smoothing the top with a spatula. Cover with plastic wrap and refrigerate for at least 4 hours, or until firm.
- Before serving, garnish with lime zest for a pop of color and extra zestiness.
- Prep Time: 15 minutes
- Cook Time: 30 minutes
- Category: Main Dish
- Method: Cooking
- Cuisine: International
Keywords: No-Bake Key Lime Cheesecake, recipe, cooking, food
Steps to Create Your No-Bake Key Lime Cheesecake
Let’s get started on making this cheesecake, step-by-step, just like those cherished moments cooking with my dad, where every step was a story shared and a memory made. Learn more: Effortless Delight: No Bake Cheesecake Made Easy
- Start with the crust. In a medium bowl, combine the graham cracker crumbs, granulated sugar, and melted butter. Stir until the mixture resembles wet sand.
- Press the crumb mixture firmly into the bottom of a 9-inch springform pan. Use the bottom of a glass or measuring cup to pack it tightly. Chill in the refrigerator while you prepare the filling.
- In a large mixing bowl, beat the softened cream cheese until smooth and creamy—about 2-3 minutes.
- Add the sweetened condensed milk, key lime juice, and vanilla extract to the cream cheese. Mix until well combined and silky.
- In a separate bowl, whip the heavy cream and powdered sugar until soft peaks form. Gently fold the whipped cream into the cheesecake mixture, maintaining as much air as possible.
- Pour the filling over the chilled crust, smoothing the top with a spatula. Cover with plastic wrap and refrigerate for at least 4 hours, or until firm.
- Before serving, garnish with lime zest for a pop of color and extra zestiness.
Tips for Making the Best No-Bake Key Lime Cheesecake
Here are a few tips from my own kitchen chaos to help you nail this recipe:
“Cooking is about feeling, not just following. Trust your taste and have fun with it!” – Maya
- Use room temperature cream cheese to prevent lumps and ensure a smooth filling.
- If you can’t find key limes, regular limes work too, though the flavor will be slightly different.
- For a more intense lime flavor, add a bit more zest directly into the filling.
Serving Suggestions and Pairings
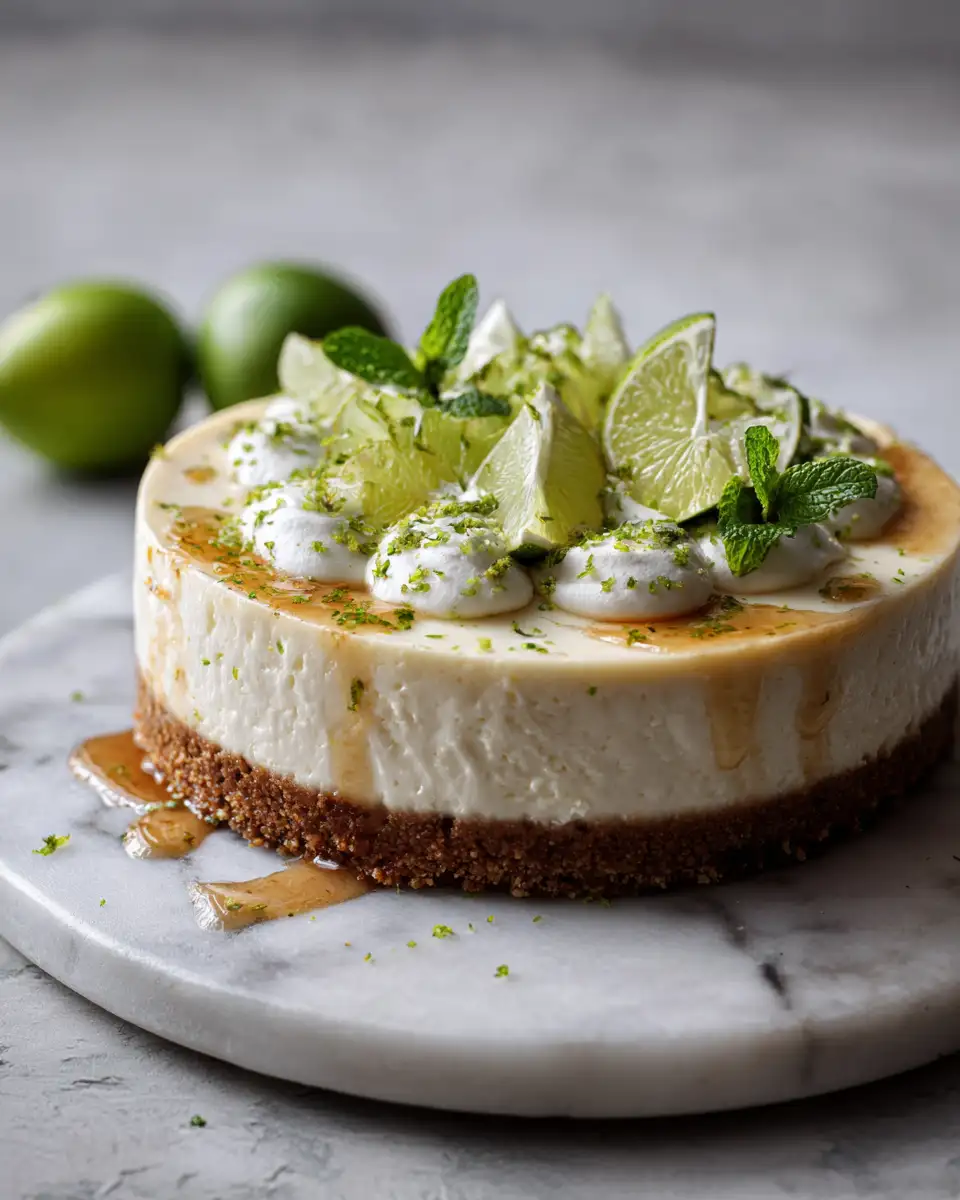
This cheesecake is a star on its own, but pairing it with a few extras can elevate the experience. Serve it with a dollop of whipped cream or a scoop of vanilla ice cream for that extra indulgence. A side of fresh berries or a drizzle of raspberry sauce can add a refreshing contrast. And if you’re feeling fancy, a light dusting of confectioners’ sugar adds a nice touch.
Storage and Reheating Tips
Have leftovers? Lucky you! Here’s how to store them:
- Keep the cheesecake in the refrigerator, covered with plastic wrap or in an airtight container, for up to 5 days.
- For longer storage, slice the cheesecake and wrap each piece in plastic wrap, then place in a freezer-safe bag. It can be frozen for up to 2 months.
- To enjoy frozen slices, simply thaw in the refrigerator overnight.
Frequently Asked Questions
What are the main ingredients for No-Bake Key Lime Cheesecake?
The main ingredients for No-Bake Key Lime Cheesecake include the items listed in our ingredients section above. Each ingredient plays a crucial role in achieving the perfect flavor and texture.
How long does it take to make No-Bake Key Lime Cheesecake?
The total time to make No-Bake Key Lime Cheesecake includes both preparation and cooking time. Check the recipe card above for exact timing details.
Can I make No-Bake Key Lime Cheesecake ahead of time?
Yes, No-Bake Key Lime Cheesecake can often be prepared in advance. Store it properly in an airtight container in the refrigerator and consume within the recommended timeframe.
What can I serve with No-Bake Key Lime Cheesecake?
No-Bake Key Lime Cheesecake pairs well with various sides and accompaniments. Consider the serving suggestions mentioned in the recipe for the best dining experience.
Is No-Bake Key Lime Cheesecake suitable for special diets?
Depending on the ingredients used, No-Bake Key Lime Cheesecake may be adapted for various dietary needs. Check the ingredients list and consider substitutions as needed for your dietary requirements.
Final Thoughts
This No-Bake Key Lime Cheesecake is more than just a dessert; it’s a slice of simplicity and joy amidst the madness of everyday life. It’s a reminder that cooking at home doesn’t need to be complicated to be delicious. Much like the meals from my childhood, it’s about the love and laughter shared over the dining table. So go ahead, try out this recipe, and bring a little piece of my family’s dinner table to yours. Happy cooking!