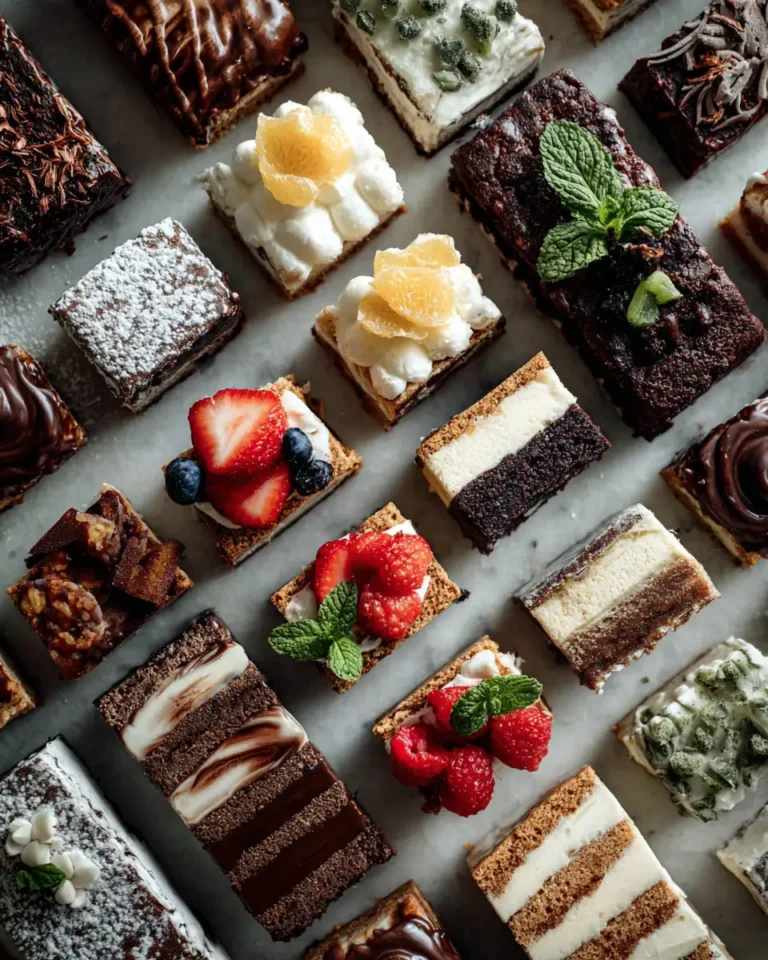
Decadent Layers: Indulge in Oreo Cheesecake Brownie Bars
Welcome to my cozy kitchen corner, where the magic of Oreo Cheesecake Brownie Bars meets the chaos of my everyday life. If you’re anything like me—a mom who’s juggling kids, work, and the eternal question of “What’s for dessert?”—you’re going to love this sweet escape. These bars are the perfect blend of creamy cheesecake, rich brownie, and that classic Oreo crunch we all secretly hoard in the pantry. So, let’s dive into this deliciously simple recipe that promises gooey goodness with every bite.
Why You’ll Love This Oreo Cheesecake Brownie Bars
These Oreo Cheesecake Brownie Bars are like a love letter to your taste buds. They’re indulgent, yet surprisingly easy to whip up. My love for these bars started on a rainy afternoon when my little ones were bouncing off the walls, and I needed a quick fix to keep them—and myself—entertained. With just a few pantry staples, this recipe transforms into a decadent treat that’s perfect for family gatherings or an impromptu weeknight dessert.
What makes these bars truly special is their simplicity. You don’t need a culinary degree to impress your family with this dessert. The layers of creamy cheesecake, fudgy brownie, and crunchy Oreo are a testament to the fact that great food doesn’t have to be complicated. Plus, you can make them with your kids—mine love crushing the Oreos and licking the batter.
Ingredients You’ll Need for This Oreo Cheesecake Brownie Bars
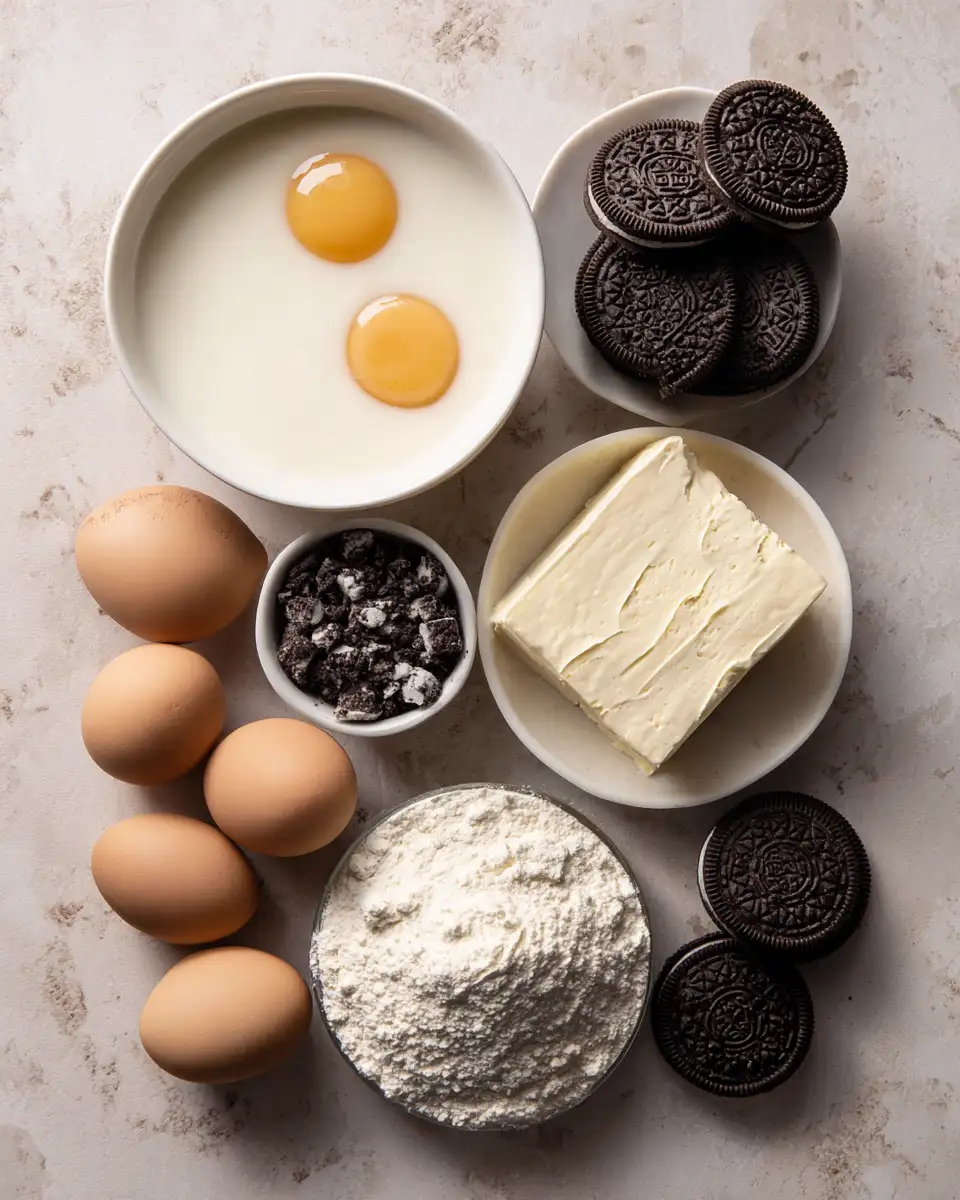
Gathering your ingredients is like preparing for a little adventure in your kitchen. Here’s what you’ll need:
- 1 box of brownie mix (plus ingredients listed on the package)
- 16 Oreo cookies, roughly chopped
- 8 oz cream cheese, softened
- 1/3 cup granulated sugar
- 1 large egg
- 1 teaspoon vanilla extract
If you’re missing something, don’t worry. You can substitute store-brand cookies for Oreos, or even swap in a homemade brownie recipe if you’re feeling ambitious. Just remember, in my kitchen, flexibility is key!
Nutrition Facts
Here’s a quick look at the nutrition information for these delightful bars. Remember, everything in moderation, right?
- Calories: 350 per serving
- Protein: 5g
- Fat: 18g
- Carbohydrates: 44g
- Fiber: 1g
- Sugar: 30g
- Sodium: 250mg
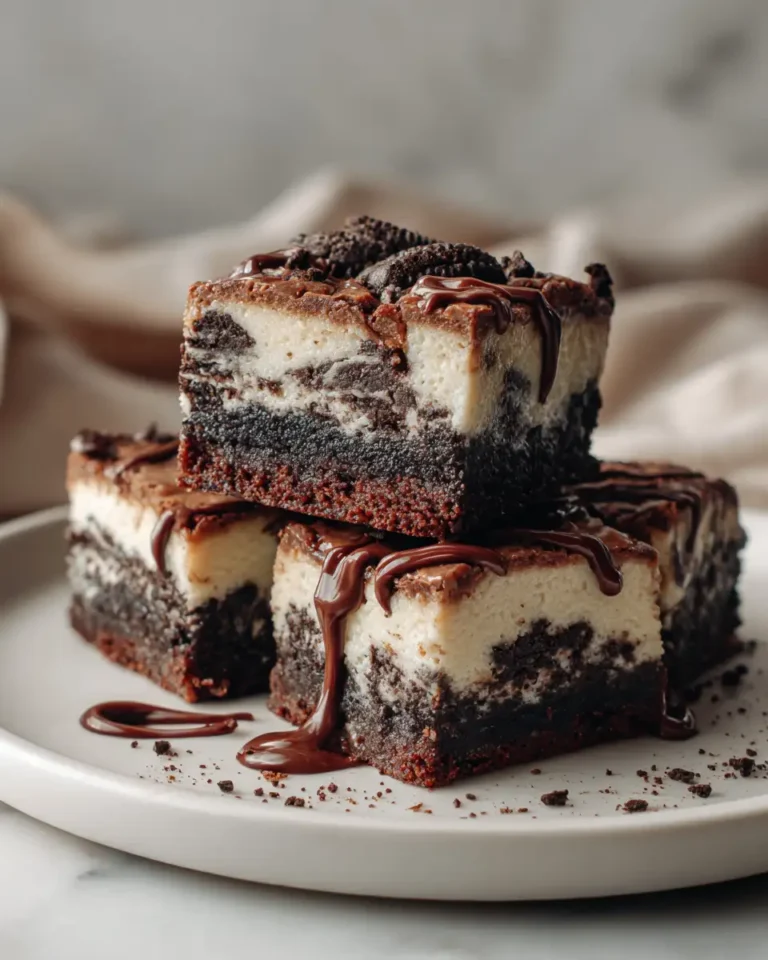
Decadent Layers: Indulge in Oreo Cheesecake Brownie Bars
Learn how to make delicious Oreo Cheesecake Brownie Bars. Easy recipe with step-by-step instructions.
- Total Time: 45 minutes
- Yield: 4 servings 1x
Ingredients
Gathering your ingredients is like preparing for a little adventure in your kitchen. Here’s what you’ll need:
- 1 box of brownie mix (plus ingredients listed on the package)
- 16 Oreo cookies, roughly chopped
- 8 oz cream cheese, softened
- 1/3 cup granulated sugar
- 1 large egg
- 1 teaspoon vanilla extract
If you’re missing something, don’t worry. You can substitute store-brand cookies for Oreos, or even swap in a homemade brownie recipe if you’re feeling ambitious. Just remember, in my kitchen, flexibility is key!
Instructions
Now, let’s get into the fun part—baking these beauties:
- Preheat your oven to 350°F (175°C) and line an 8×8-inch baking pan with parchment paper for easy removal.
- Prepare the brownie batter according to the package instructions. Pour half of the batter into the prepared pan, spreading it evenly.
- In a separate bowl, beat together the cream cheese, sugar, egg, and vanilla extract until smooth and creamy.
- Gently spread the cream cheese mixture over the brownie layer in the pan.
- Sprinkle half of the chopped Oreos over the cheesecake layer, pressing them slightly into the mixture.
- Pour the remaining brownie batter over the top, spreading it gently to cover the Oreos and cheesecake layer.
- Top with the remaining chopped Oreos, pressing them slightly into the brownie batter.
- Bake for 35-40 minutes or until the edges are set and the center has a slight jiggle.
- Allow to cool in the pan before cutting into bars. Enjoy the gooey layers and the crunch of the Oreos!
One tip from my kitchen to yours: if you’re in a rush, pop them in the fridge to speed up the cooling process. But be warned, they might disappear faster than you can say “dessert’s ready!”
- Prep Time: 15 minutes
- Cook Time: 30 minutes
- Category: Main Dish
- Method: Cooking
- Cuisine: International
Keywords: Oreo Cheesecake Brownie Bars, recipe, cooking, food
Steps to Create Your Oreo Cheesecake Brownie Bars
Now, let’s get into the fun part—baking these beauties:
- Preheat your oven to 350°F (175°C) and line an 8×8-inch baking pan with parchment paper for easy removal.
- Prepare the brownie batter according to the package instructions. Pour half of the batter into the prepared pan, spreading it evenly.
- In a separate bowl, beat together the cream cheese, sugar, egg, and vanilla extract until smooth and creamy.
- Gently spread the cream cheese mixture over the brownie layer in the pan.
- Sprinkle half of the chopped Oreos over the cheesecake layer, pressing them slightly into the mixture.
- Pour the remaining brownie batter over the top, spreading it gently to cover the Oreos and cheesecake layer.
- Top with the remaining chopped Oreos, pressing them slightly into the brownie batter.
- Bake for 35-40 minutes or until the edges are set and the center has a slight jiggle.
- Allow to cool in the pan before cutting into bars. Enjoy the gooey layers and the crunch of the Oreos!
One tip from my kitchen to yours: if you’re in a rush, pop them in the fridge to speed up the cooling process. But be warned, they might disappear faster than you can say “dessert’s ready!”
Tips for Making the Best Oreo Cheesecake Brownie Bars
While this recipe is pretty straightforward, a few insider tips can take your bars to the next level:
- Room Temperature Ingredients: Make sure your cream cheese is softened to avoid lumps in your cheesecake layer.
- Don’t Overmix: When combining the cheesecake layer, mix just until everything is blended to keep the texture smooth.
- Chop, Don’t Crush: For the best texture, roughly chop your Oreos instead of crushing them. This gives you delightful chunks in every bite.
Serving Suggestions and Pairings
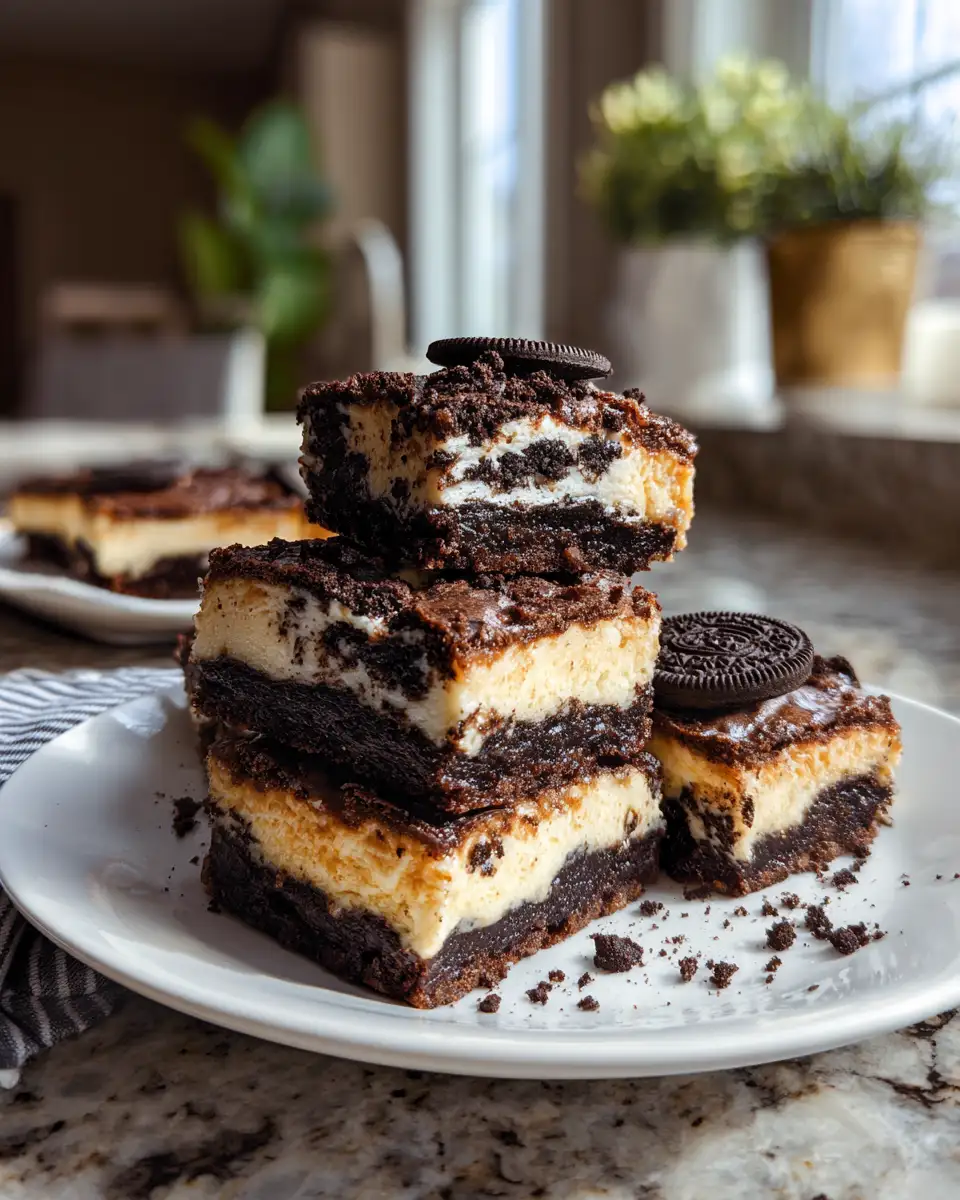
These bars are delicious on their own, but if you’re feeling fancy, here are a few serving ideas:
- With Ice Cream: A scoop of vanilla ice cream makes these bars even more indulgent.
- Drizzle of Chocolate Sauce: Add a drizzle of warm chocolate sauce for a richer experience.
- With a Cup of Coffee: A hot cup of coffee or espresso balances the sweetness perfectly.
Storage and Reheating Tips
If by some miracle you have leftovers, these bars store beautifully:
- Store in an airtight container in the fridge for up to 5 days.
- For longer storage, you can freeze them. Wrap individual bars in plastic wrap, then foil, and store in a freezer-safe bag for up to 3 months.
- To enjoy frozen bars, let them thaw in the fridge overnight or at room temperature for a couple of hours.
Frequently Asked Questions
What are the main ingredients for Oreo Cheesecake Brownie Bars?
The main ingredients for Oreo Cheesecake Brownie Bars include the items listed in our ingredients section above. Each ingredient plays a crucial role in achieving the perfect flavor and texture.
How long does it take to make Oreo Cheesecake Brownie Bars?
The total time to make Oreo Cheesecake Brownie Bars includes both preparation and cooking time. Check the recipe card above for exact timing details.
Can I make Oreo Cheesecake Brownie Bars ahead of time?
Yes, Oreo Cheesecake Brownie Bars can often be prepared in advance. Store it properly in an airtight container in the refrigerator and consume within the recommended timeframe.
What can I serve with Oreo Cheesecake Brownie Bars?
Oreo Cheesecake Brownie Bars pairs well with various sides and accompaniments. Consider the serving suggestions mentioned in the recipe for the best dining experience.
Is Oreo Cheesecake Brownie Bars suitable for special diets?
Depending on the ingredients used, Oreo Cheesecake Brownie Bars may be adapted for various dietary needs. Check the ingredients list and consider substitutions as needed for your dietary requirements.
Final Thoughts
Making Oreo Cheesecake Brownie Bars is like inviting a little piece of joy into your home. They’re not just a dessert—they’re an experience, a memory waiting to be made in your kitchen. Whether it’s a rainy day, a celebration, or just an ordinary Wednesday, these bars bring a touch of magic to any moment. From my bustling home to yours, happy baking!